Monday, February 6, 2012

Celebrating 5 Years with PTI

Howdy friends!  I know, I know - you're surprised I'm posting 2 days in a row right!  Well, me too....

One of my all time favorite stamp companies, Papertrey Ink, is celebrating their 5th anniversary this month with lots of fun surprises.  Each day until Feb. 14th, they are issuing challenges on Nichole Heady's blog for everyone to participate in.  Today's challenge is to use one of the FREE digital downloads that their stamp designers came up with.    I chose to use the design by Dawn McVey - gotta love some pink!!

Check out my creation:


Supplies:
All supplies are from Papertrey Ink unless noted otherwise
Cardstock - Select White, Hibiscus, Raspberry Fizz
Ink - Perfect Match: Fresh Snow, Hibiscus; Palette: Raspberry Fizz
Stamps - Dawn McVey's free digital download, Turning a New Leaf, Background Basics: Retro
Dies - Limitless Layers
Embossing Folder - Intricate Swirl (The Paper Studio)
Adhesive - ATG tape (Scotch), Zapdots (Helmar)

Sunday, February 5, 2012

Felt Flower Pillow Tutorial

Howdy friends!  I have a few projects in my file that I need to share with you - so today, I'm showing you how to make a large felt flower to pin on a pillow for your home decor.  I bought a pillow form from Joann's and made a simple pillow cover from canvas.  I put in a zipper so that I could clean it if needed.  My first flower looked like this:


I cannot remember where I first saw how to make this, so I apologize for not giving credit where credit is due.  I used this flower in the Fall right after I got these 2 zebra chairs for my anniversary (thanks honey!!). Now that it is Winter, I wanted to change the color scheme a bit.  With the beauty of a safety pin, I can change out the pillow decor very quickly!  Here are some pictures showing how I created my grey flower.

What you need:
Scrap of heavy weight fabric - I used canvas I found in the clearance bin at Hobby Lobby.
Plate - I used a salad plate
Pencil
Scissors
Felt in color of your choosing
Low temp hot glue - I promise, you WANT low-temp glue!!!!  Don't ask.
Safety Pin
Embellishment if wanted


Trace your plate onto canvas


Trace circles onto felt (use a glass) or free hand them like I did.  Cuz that's how I roll!


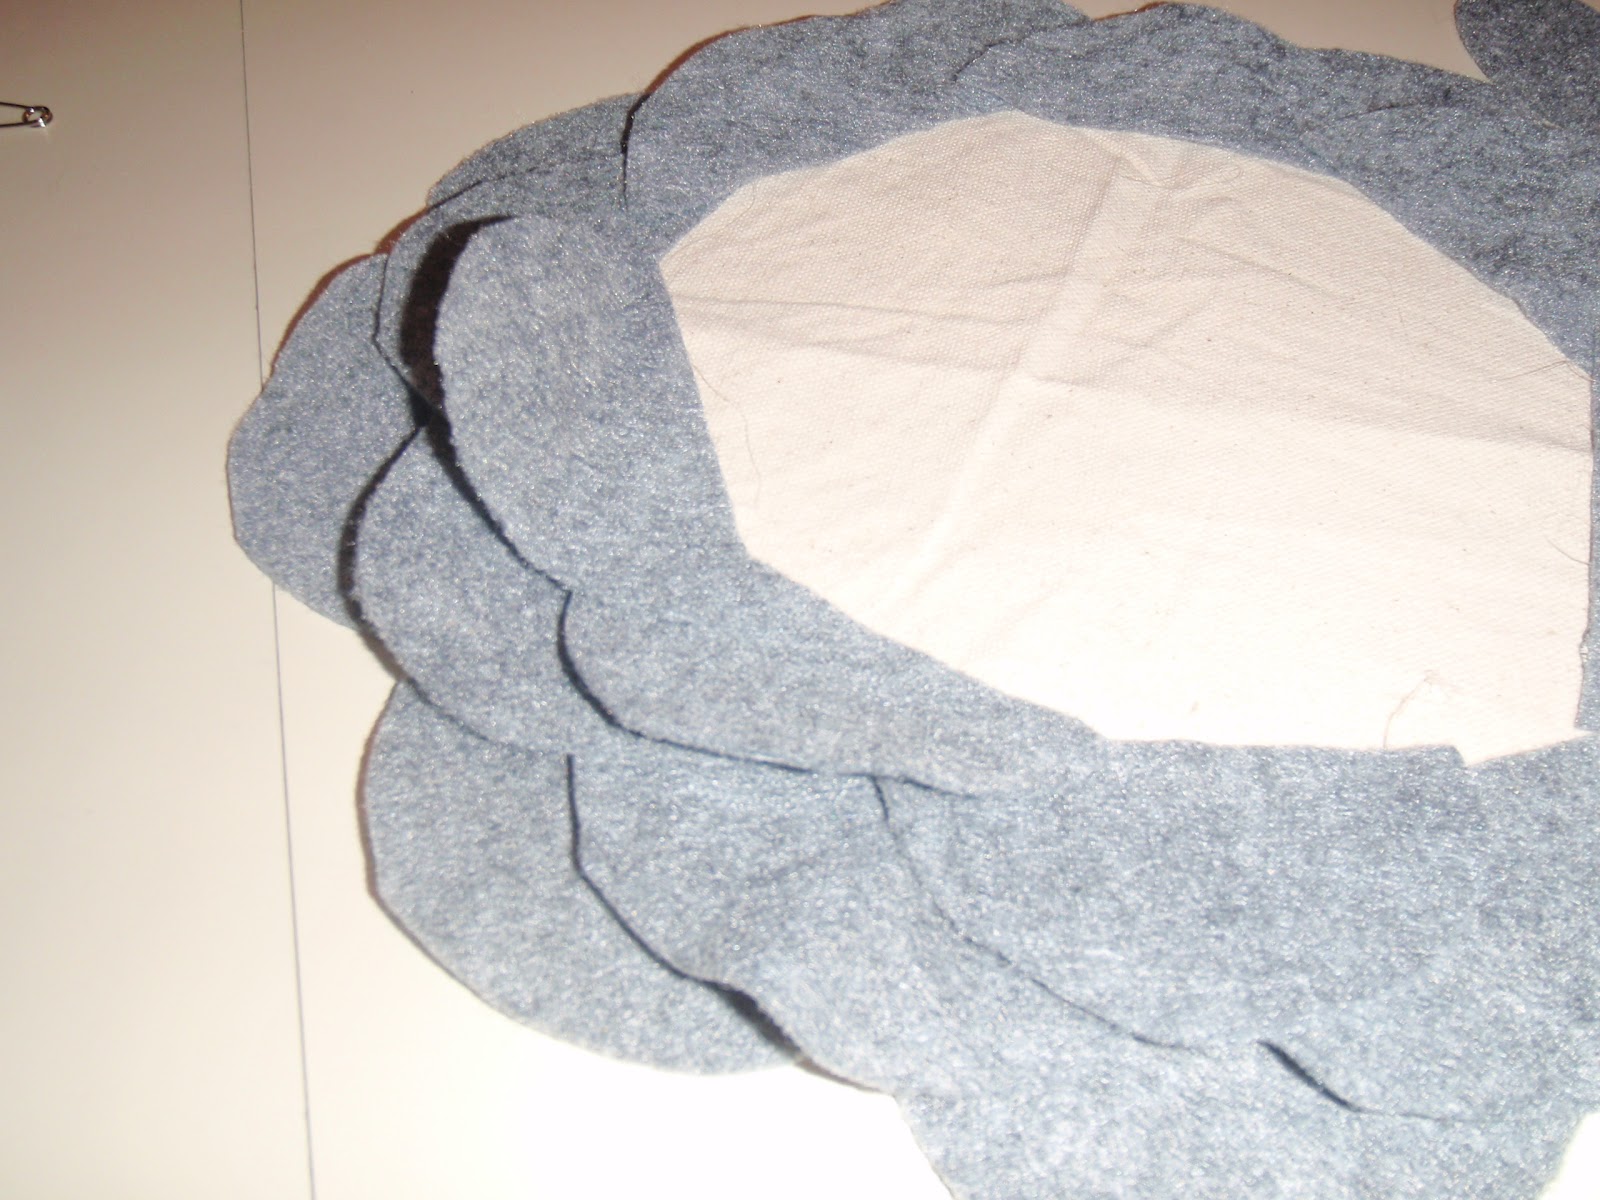
Cut out circles, then cut circles in half.


Lay half-circles around outer edge of canvas circle.  Glue into place.


Layer half-circles, continue layering and off-setting circles as you approach the inside of the circle.


As you approach the center, the half-circles will start to really overlap.  That's okay.  Just pinch together.  See below.


When you get as many half-circles glued in as you want, then you can finish the center.  I glued a button into the center to hide the edges.


Finally, use a safety pin to attach the flower to the pillow!


Voila!  Instant decor change!  Ok - not instant, but this project took me about 30 minutes total!  

One more look:


                                                Before                                              After

Thanks for stopping by today!

p.s. I'm linking up today for Brassy Apple's Make It Monday series!!

Tuesday, January 10, 2012

Winter Wreath

Howdy friends!!  Whew - its been a crazy start to the New Year!  Super busy already.....

I wanted to make a new wreath for my front door for Winter, but did not want to spend any money, so I looked around blogland and my new favorite place, Pintrest!  I found lots of inspiration out there and realized I had everything I needed on hand to make a quick wreath.


Using an old wreath that had seen better days, I dismantled it completely until I was left with only the bare bones.  Then I took felt and made felt flowers, glued it onto some canvas fabric, then pinned the canvas onto the wreath. I also had some snowflakes I bought at the Dollar Tree last year and put those in as well. 

Now, you are probably asking yourself "why didn't that silly Aggie just glue it directly onto the wreath?"  Well, let me tell ya - I think I want to try and get a bit more mileage out of my wreath and reuse it to change it out quickly - and I don't have to store a bunch of different wreaths!!!  Just change out decor.  We'll see how that goes!

Here's a close up:


LOVE!!!!


Have a great day!

Jenn

Thursday, December 8, 2011

12 Tags of Christmas - Tags 4&5

Howdy friends!  I'm sharing tags 4 & 5 today.  Tag 4 took me a lot longer to work on than I anticipated because I had to wait for stuff to dry - but it was worth the wait!  If you are being inspired by Tim's tags and playing along you may be thinking "I don't have all that stuff!"  Well, let me tell you, it can be intimidating at first - 2 years ago I went and bought all the supplies.  Last year I bought a couple of items and tried to use my own stuff to fill in.  Well, this year I've made it my mission to not buy anything and use what I already have.  In tag 4, I used packaging that a Cricut cartridge came in!  Later on, you'll see I used wax paper in place of glassine (but that's a different day).  You too can seek around your house - you'll be amazed at what you find!!

OK - enough of that chitchat -  on to the tags!

Tag 4:


Tag 5:


I have to say that I love how these are turning out!  I'm being creative and having fun for no reason at all!  I put last year's tags on my tree and I enjoy seeing them displayed.  I think I might frame some of these this year and have them as wall art next year.  What do you think?  Tree, framed, any other ideas?

I'll see ya soon!
Jenn

Wednesday, December 7, 2011

12 Tags of Christmas - Tags 2 & 3

Howdy friends!  Today I'm sharing tags 2 & 3 since I'm behind!  As usual.  Check out Tim's blog to see the original at timholtz.typepad.com.

Here is Tag 2:


and Tag 3:

So much fun trying to use what I already have.  I know Mr. Scrappin' Aggie likes it too!

Tuesday, December 6, 2011

12 Tags of Christmas - Day 1

Howdy friends!  I am participating in Tim Holtz's 12 Tags of Christmas again this year!  I LOVE learning new techniques and revisting older ones that I've forgotten about since last year.  This year has already been so much fun!  I am starting with Tag 1 here - but I may post out of order, or all together because I'm a bit behind in sharing my tags.  I have been creating a bit here and there and just enjoying the creative process for no other reason than just because!

So - my first tag!


I really enjoyed making this one with my stash on hand.  I was able to use my plethora of Cricut cartridges to help me with the die cuts.  I created the Noel with Cricut Design Studio, Winter Wonderland Font, and Tie the Knot and welded them together.  The leaves and holly are from Winter Frolic and Christmas Cheer, respectivley, and the pinecones are actually flowers from Flower Shoppe.  Thanks for stopping by and looking - I'll try to get the others posted as well. 

You should go check out Tim's amazing blog - he is awesome!


Saturday, December 3, 2011

Just a Card

Howdy folks - I'm just posting a quick card I made for my Aunt's birthday.  It was great to go along with PTI's Make It Monday technique.  That is all for now - I really need to finish Christmas cards.